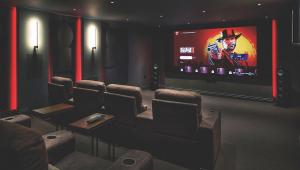
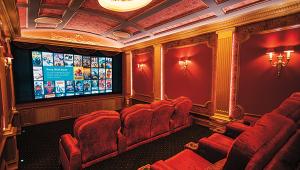
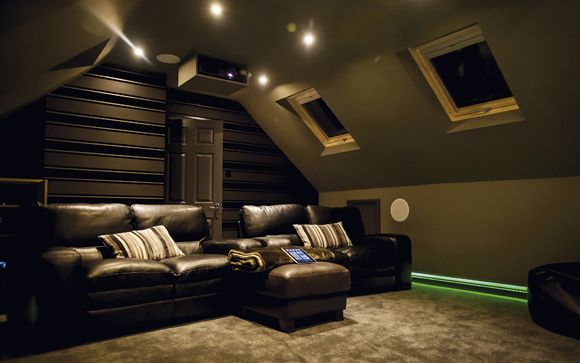
DIY Install: Room with a View: Part 2
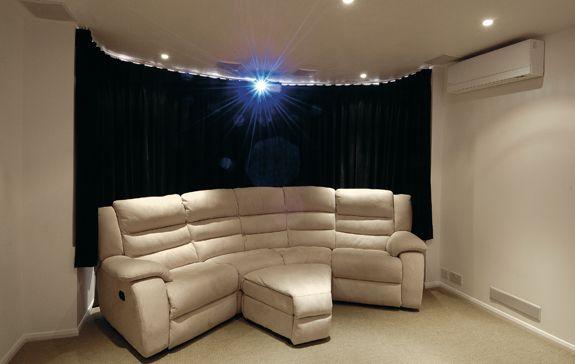
In Part 1 we discussed some of the basics of a DIY home cinema room project, from the shape of the room itself to the sorts of decisions you need to make about speaker and screen positioning.
But of course, once a build is underway, there’s always the possibility you might come across problems that force you to change your plans – in our case, because the ceiling height had been lowered to allow space for lighting and cabling above it, the remaining space wasn’t sufficient for the projection screen housing!
Step 1: Sound intentions
It was never our intention to attempt to soundproof this cinema room. Soundproofing, as opposed to noise control, requires a completely different approach to building, by which the entire room is essentially enclosed in a box (see Top Tip #1 - Boxing clever, below).
But even if you aren’t attempting full soundproofing, there’s no reason you can’t take some noise control measures, whether to prevent noise getting in and disturbing your viewing, or to reduce it leaking out and disturbing others.
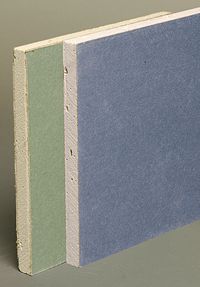
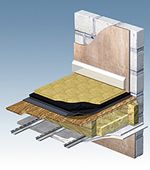
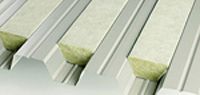
The first sensible measure is to use acoustic-grade plasterboard (pictured right). This costs typically only a few pounds more than regular plasterboard, but will improve thermal control and enhance structural rigidity, particularly important as we were building two subwoofers into the wall.
We used two layers of 12.5mm Gyproc SoundBloc, forming a sandwich with a layer of Green Glue. We’ve mentioned this wonder substance before (it was also used in the design of HCC’s in-house demo room), but many readers may be unaware of its applications.
Officially a ‘visco-elastic damping compound’, Green Glue comes in tubes like mastic, and is applied with a ‘gun’ (make sure you get an Imperial measure gun, as the tubes are 29oz capacity). Green Glue is normally bought in cases of 12 tubes, with a case normally sufficient to treat an area of 100-200 square feet, so you may need 3-5 cases to treat an entire room.
In a normal wall structure, the impact of sound waves causes the wall to deform and vibrate, causing vibration and hence noise on the other side of the wall. If you have a dual-layer wall, the there’s also the possibility of rattle.
The American makers of Green Glue claim that an application improves the energy dissipation of the material, converting audio energy it into ‘sheer force’ and hence heat. This is particularly useful when in-wall speakers are rigidly fixed to wooden battens and to the wall boards.
It’s claimed that Green Glue improves the damping factor from 0.006 to 0.5 or more; the reduction in wall resonance achieves the deadening effect we’re looking for.
It would be wrong to think of Green Glue as some kind of miracle sound-proofing gunk; it’s not. But there is plenty of evidence that it can, at the very least, diminish some of the energy in the cinema room structure itself.
Despite its name, Green Glue is not an adhesive, but it is applied in roughly the same way, squeezing it out generously in swirling patterns on the inside plasterboard. The panel is then pressed to the wall or ceiling battens and screwed into place.
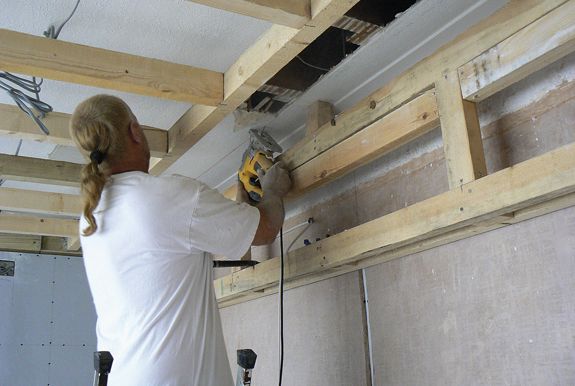
Step 2: Hack and slash
While the plasma TV would be fitted permanently in the wall alcove, the roll-down projection screen would be lowered for the full cinema effect. Having measured the gap properly, our builder hacked back the ceiling joists, so we could fit the screen casing. The case itself would be screwed directly into the ceiling joists.
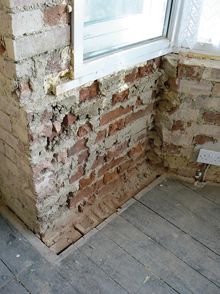 When it became obvious that we hadn’t left enough headroom for the drop-down screen, we began to wonder whether we had left sufficient space for other fitments – such as a sofa. As it turned out, the one we had in mind was indeed too wide for the bay window area.
Since we couldn’t chop six inches off either side of the settee, we decide to widen the window, which was easily done by removing one row of bricks from either side of the bay (pictured right).
Our next step was to complete the cabling, as this had to be done before finalising the plasterboarding. The temptation is always to go either for cable which is too cheap (which saves money but can cause problems with performance and reliability) or too expensive, guaranteeing performance and reliability but limiting your installation options. For instance, quality cables tend to be thick and not very flexible. Bending them around corners might prove impossible. You might also have problems with some over-specified plugs, which can refuse to fit when space is tight.
We thought our selection of Ixos cables gave us the right balance between performance, price and installation options. The cable chosen for this job was XHS523 Parallel Geometry low-resistance speaker cable, which has the girth to satisfy audiophile concerns, but is relatively easy to thread.
The heavy gauge Ixos HDMI cable was a tougher proposition, but it was possible to anchor it to the studwork without too much difficulty. When the speaker cables were attached to each enclosure, we squeezed flexible sealant onto every fixing. You don’t want a connection to work loose when it’s tucked away under plasterboard.
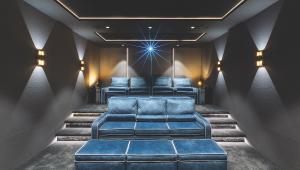
Step 3: Light work
For this install we chose a lighting system from Niko, which features four dimming circuits and allows for a variety of lighting configurations. The system is controlled via CAT5 cable, which we routed into the adjacent garage. There we had a custom bank of Niko control boards housed in their own cabinet installed by RajVar Technologies. We took this opportunity to extend the CAT5 network to other rooms in the house, including the boot-room where we planned a server point, and living rooms where lighting and security controls could also be connected to the network.
We also ran Ethernet cable to the apex of the bay window, adding extra network points to help futureproof the room. Despite the utility of wi-fi and Powerline networking, you can never have too many hardwired networking points!
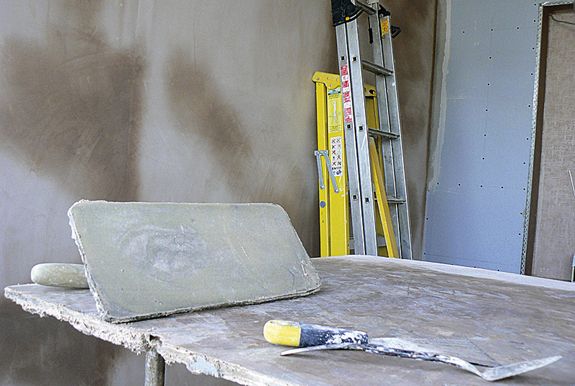
Step 4: Totally plastered
So, with the front speakers and sub installed in the walls, lighting and cabling systems fitted and screen mounts assembled, we were ready to plaster the walls.
Prior to plastering, we made sure to note the position of the loudspeaker cables and the timber framework, making multiple measurements and drawing a representation of the speaker positions on the ceiling. It’s essential to get this right because you don’t want to have to replaster.
When the plaster dried, the walls were painted white. Now, we know this is probably the worst colour you could choose for a home cinema; ideally you would choose black, or a dark blue or battleship grey, to minimise reflection from the screen. But since this room would also be used for music listening and other family affairs, it didn’t seem practical to go for those options as they would have been too gloomy for everyday use.
Now we could proceed to install our chosen Screen Research screen (see Top Tip #2 - Acoustic transparency, below). Here our calculations again proved to be a little flawed. The 110ins screen has a width of 2,794mm, but the actual casing measures 2,994mm. To our horror, we discovered that it only just fitted in the width of the room.
The screen system involves a motorised trap door, which sits flush with the ceiling. This has to be installed before the screen and comes with a mounting kit. Despite all efforts, we couldn’t make this fit, so instead we just drilled holes through the roof of the casing so we could screw it directly into the ceiling joists. The danger of doing this was that any left-over aluminium shards might have torn the screen fabric, so the case had to be cleaned out carefully after drilling.
Lifting the heavy casing into place took four of us, but we were relieved to find that, once presented to the ceiling joists, it fitted perfectly.
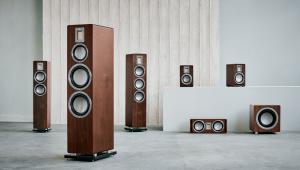
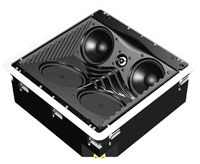 The next step was to install the in-ceiling rear speakers and this involved cutting into our beautiful plasterboarding. Four Definitive Technology Reference UIW RSS speakers were used to create the rear soundstage. They employ a unique angled bipolar-array which creates an enveloping soundfield, directional enough for multichannel music and spatial effects, yet diffuse enough for genuine surround movie ambience. Direct-radiating speakers can be too directional and distracting for rear use, particularly for someone who is sitting too close to them. And unlike dipoles, bipole speakers feature multiple drivers operating in phase.
Traditional THX-style dipoles have two drivers that are out of phase; dipoles are typically placed on the side wall, with the viewer sitting in the null point. The technology works well for movies, but less so with music playback. To get around this, some manufacturers build speakers with a switch that allows you to toggle between bipole or dipole output. As we intend to include in our system a DVD player capable of SACD and DVD-A playback, bipoles were the way to go...
Next time: Heart-stopping moments as we unroll the screen, and lift the plasma TV into position!
Top Tip #1 Boxing clever
 True sound-proofing can be achieved by building a room within a room and ‘decoupling’ the two to eliminate the possibility of sound vibration passing into or out of the inner chamber. There are lots of ways to do this, but all of them are relatively expensive and time-consuming.
Most sounds transfer from a room to the outside (and vice versa) through mechanical means; vibration travels through structural elements such as brick, plasterboard and woodwork, and can even be amplified by walls, ceilings, floors or windows acting as a sounding board. Sound deadening measures can’t eliminate this effect entirely; the only effective technique is decoupling, which breaks the connection between the room and the outside world. This technique makes heating and ventilation difficult, but the main issue is that you basically have to build a room within a room.
 Usually double-layer plasterboard walls are constructed, with out-of-step vertical battens that don’t touch each other. The plasterboard attaches to the battens using noise-deadening ‘sound clips’ that have rubber washers, and the gap between the boards is filled with insulation. Concrete floors don’t need much soundproofing, but wooden floors may need underlays of acoustic mineral wool.
Top Tip #2 - Acoustic transparency
Since it would descend in front of the Definitive Technology speakers, it was vital that the projection screen be acoustically transparent. If you have a long room with plenty of space between the front and back wall, you can allow two to three feet behind your screen to place your speakers and sub(s). In that case, though, you will need to acoustically treat this area and add bass traps in the corners.
A black cotton material is usually placed behind the screen to ensure there are no light reflections. You should also be able to access the speakers via a removable panel or false sidewall. We’d chosen to have the subs in our side walls, so we wouldn’t need that much space or acoustic treatment behind the screen.
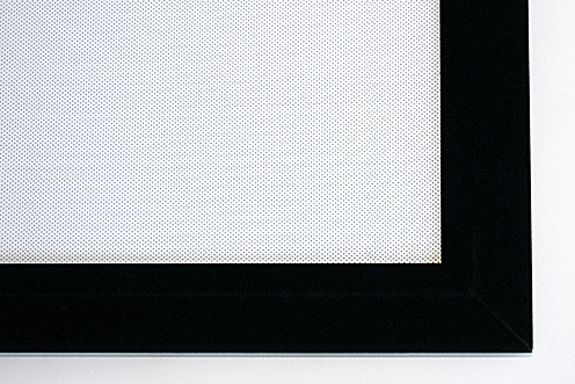
There are two types of acoustically transparent screen available: micro-perforated and woven. Your choice will depend on the type and resolution of your projector. The regular weave of a fabric can overlap with the field of pixels from a projector, causing changes in reflected brightness, which become visible as line artefacts. This moiré effect explains why you can’t just use a bedsheet as a projection screen.
The higher the resolution of the projected image, the greater the likelihood that you will see a moiré effect on woven material. Only a weaveless material can eliminate this entirely. But PVC-type screens and perforated with thousands of tiny holes can be acoustically transparent while eliminating the moiré effect. THX-certified perforated screens tend to be expensive, however. So our compromise between price and performance was a ClearPix2 woven screen from the Screen Research range, an acoustically-transparent fabric with THX certification.
DIY KIT CHECKLIST...
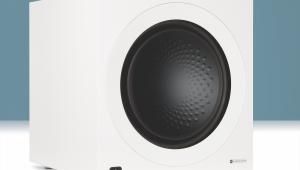
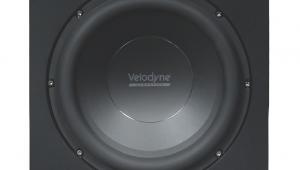
Speakers: Velodyne SC-IW SubContractor in-wall subwoofer, £1250
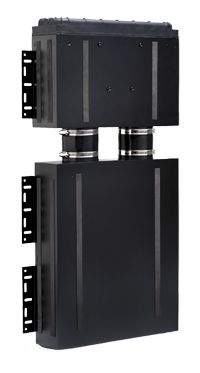 SC-BB: backbox, £220
SC-1250: power amp, £1350
Redline
tel: 01268 858 222
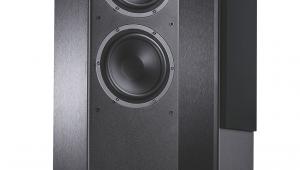
Definitive Technology Reference Series: UIW RLS11 L/C/R speakers, £799 per speaker
Reference series: UIW RSS11 Surround speakers, £549 per speaker
Pulse Marketing
tel: 01279 647 039
Cables:
Ixos XHS523: speaker cable, £4.99 p/metre
HDMI: 15m, £220 Custom lengths to order: VGA 15m @ £35 p/3m
S-Video: 15m @ £34.99 p/5m
Component: 15m @ £79.99 p/5m
Composite: 15m @ £39.99 p/3m
IXOS
tel: 01844 219 000
Screen: Screen Research THX Acoustic Transparent in-ceiling trapdoor screen (product code MS-IT-110-178-2W-B): inc motor controller, £Enquire
Pulse Marketing
tel: 01279 647 039
Lighting: Niko Home Automation & Lighting Systems
USD
Tel: 01525 877707
Building materials: Gyproc Soundbloc 12.5mm 2400mm x 1200mm, approx £10 per board
Insulation Express
Green Glue: Around £13 per tube
Green Glue
tel: 01303 230944
This article first appeared in the January 2012 issue of Home Cinema Choice


 |
Home Cinema Choice #351 is on sale now, featuring: Samsung S95D flagship OLED TV; Ascendo loudspeakers; Pioneer VSA-LX805 AV receiver; UST projector roundup; 2024’s summer movies; Conan 4K; and more
|
| Hardware | Software | Features Installs | Latest News Awards Newsletters | Resources | Subscriptions |
WHERE TECHNOLOGY BECOMES ENTERTAINMENT
 © 2026 Home Cinema Choice
AVTech Media Ltd
All rights reserved